Record a task
Tips for optimal recording and playback
- Use Microsoft Edge based on Chromium when recording webpages.
- Always use the same screen resolution during recording and playback, 1920 x 1080 pixels is recommended.
- Set a fixed resolution for connecting to your remote desktop in the settings of your RDP client.
Recording modes
When you open the Yarado Client, you can start recording your task straight away by click on the red record button in the pop-up.
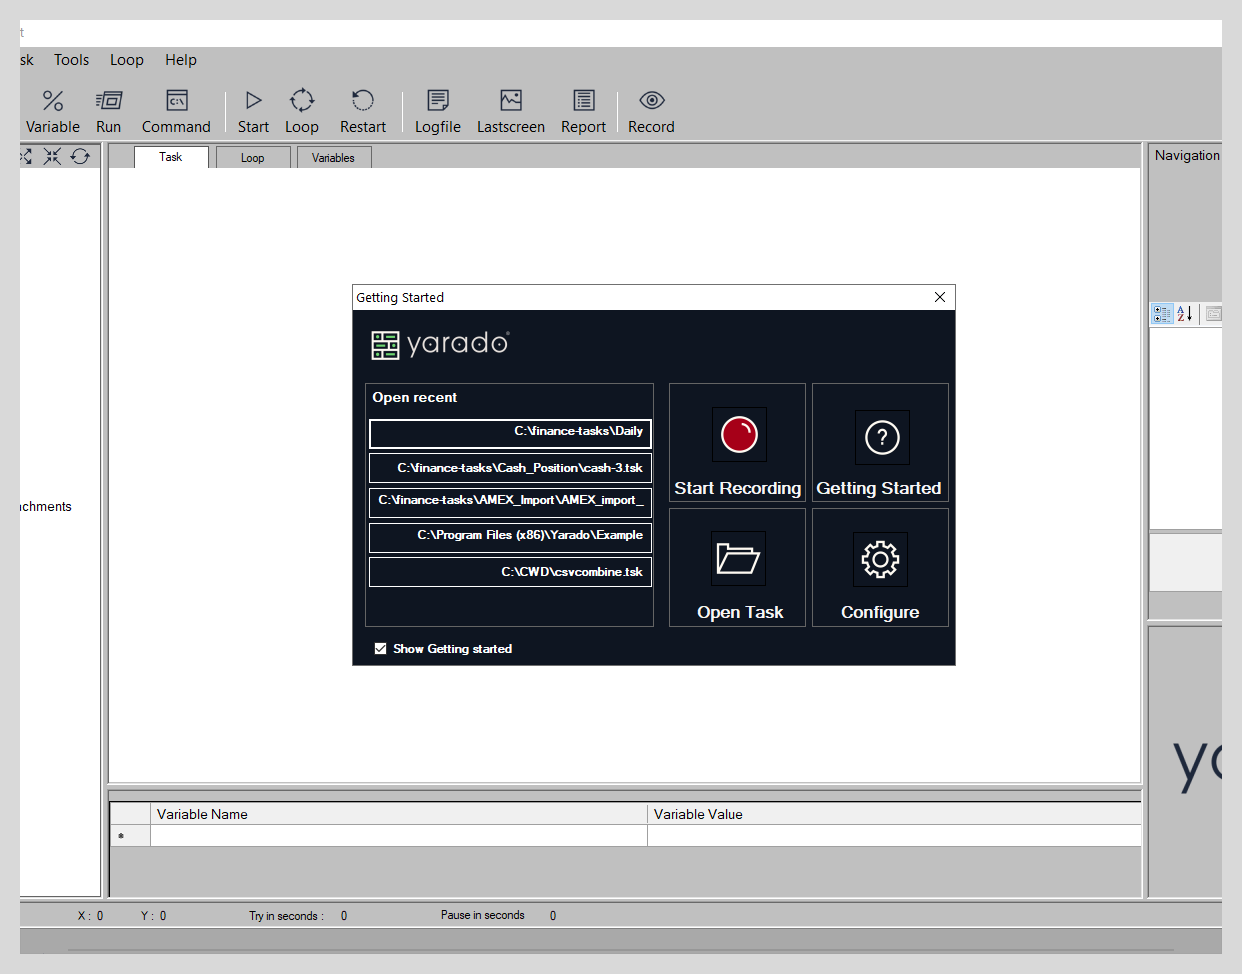
Start recoding straight away.
Yarado will shift to recording mode. In this mode, it will minimize the client, freeing up as much of the screen as possible. In the top right corner, you will find the control window for the recorder.
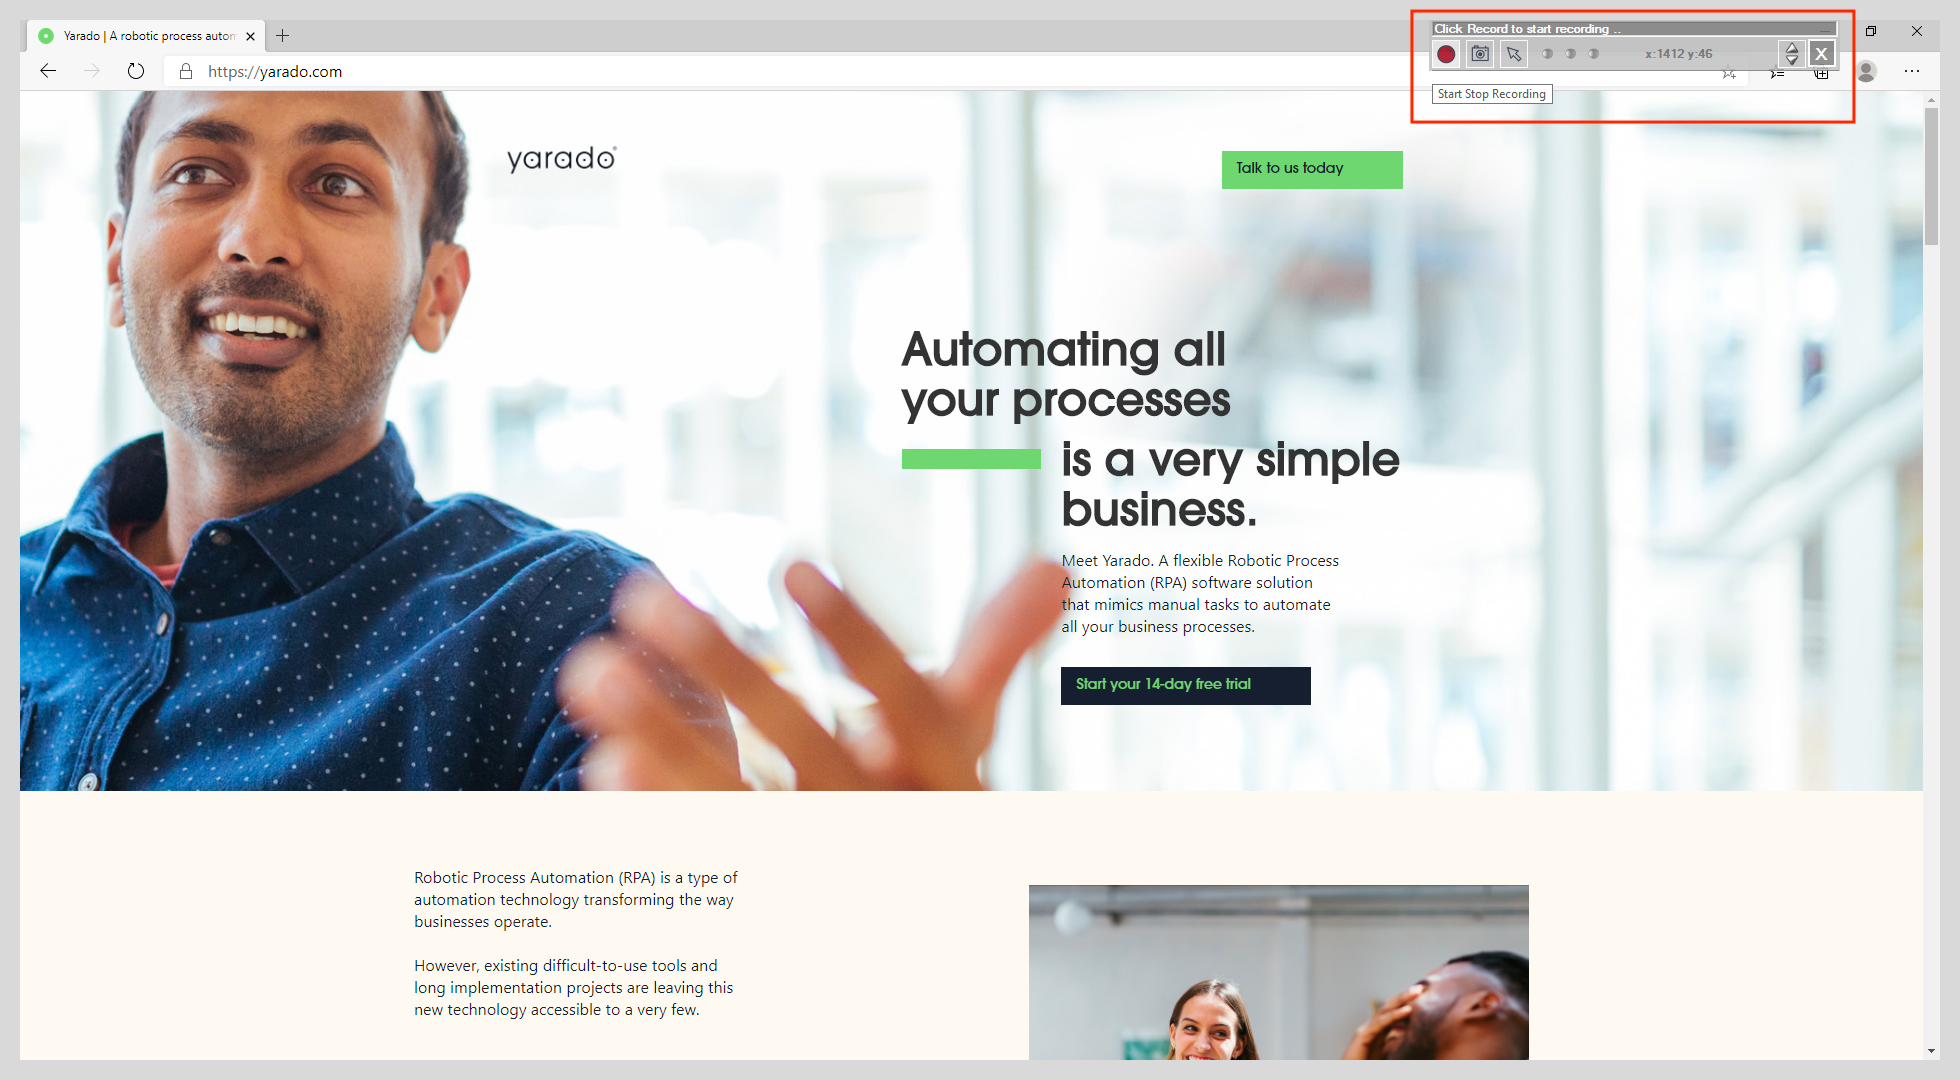
Yarado in recording mode
When Yarado is in recording mode, you have three options to record a task:
- Intelligent mode -

- Image recognition -

- Custom mouse recording -

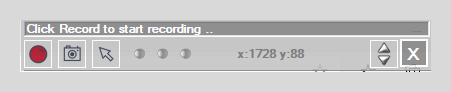
Yarado recorder controls.
Intelligent mode
The intelligent recoding mode is Yarado's default recording mode and leverages
the full strength of Yarado recorder by automatically combining multiple
recording techniques. By clicking on the red circle (), Yarado
prepares itself to record steps using intelligent mode.
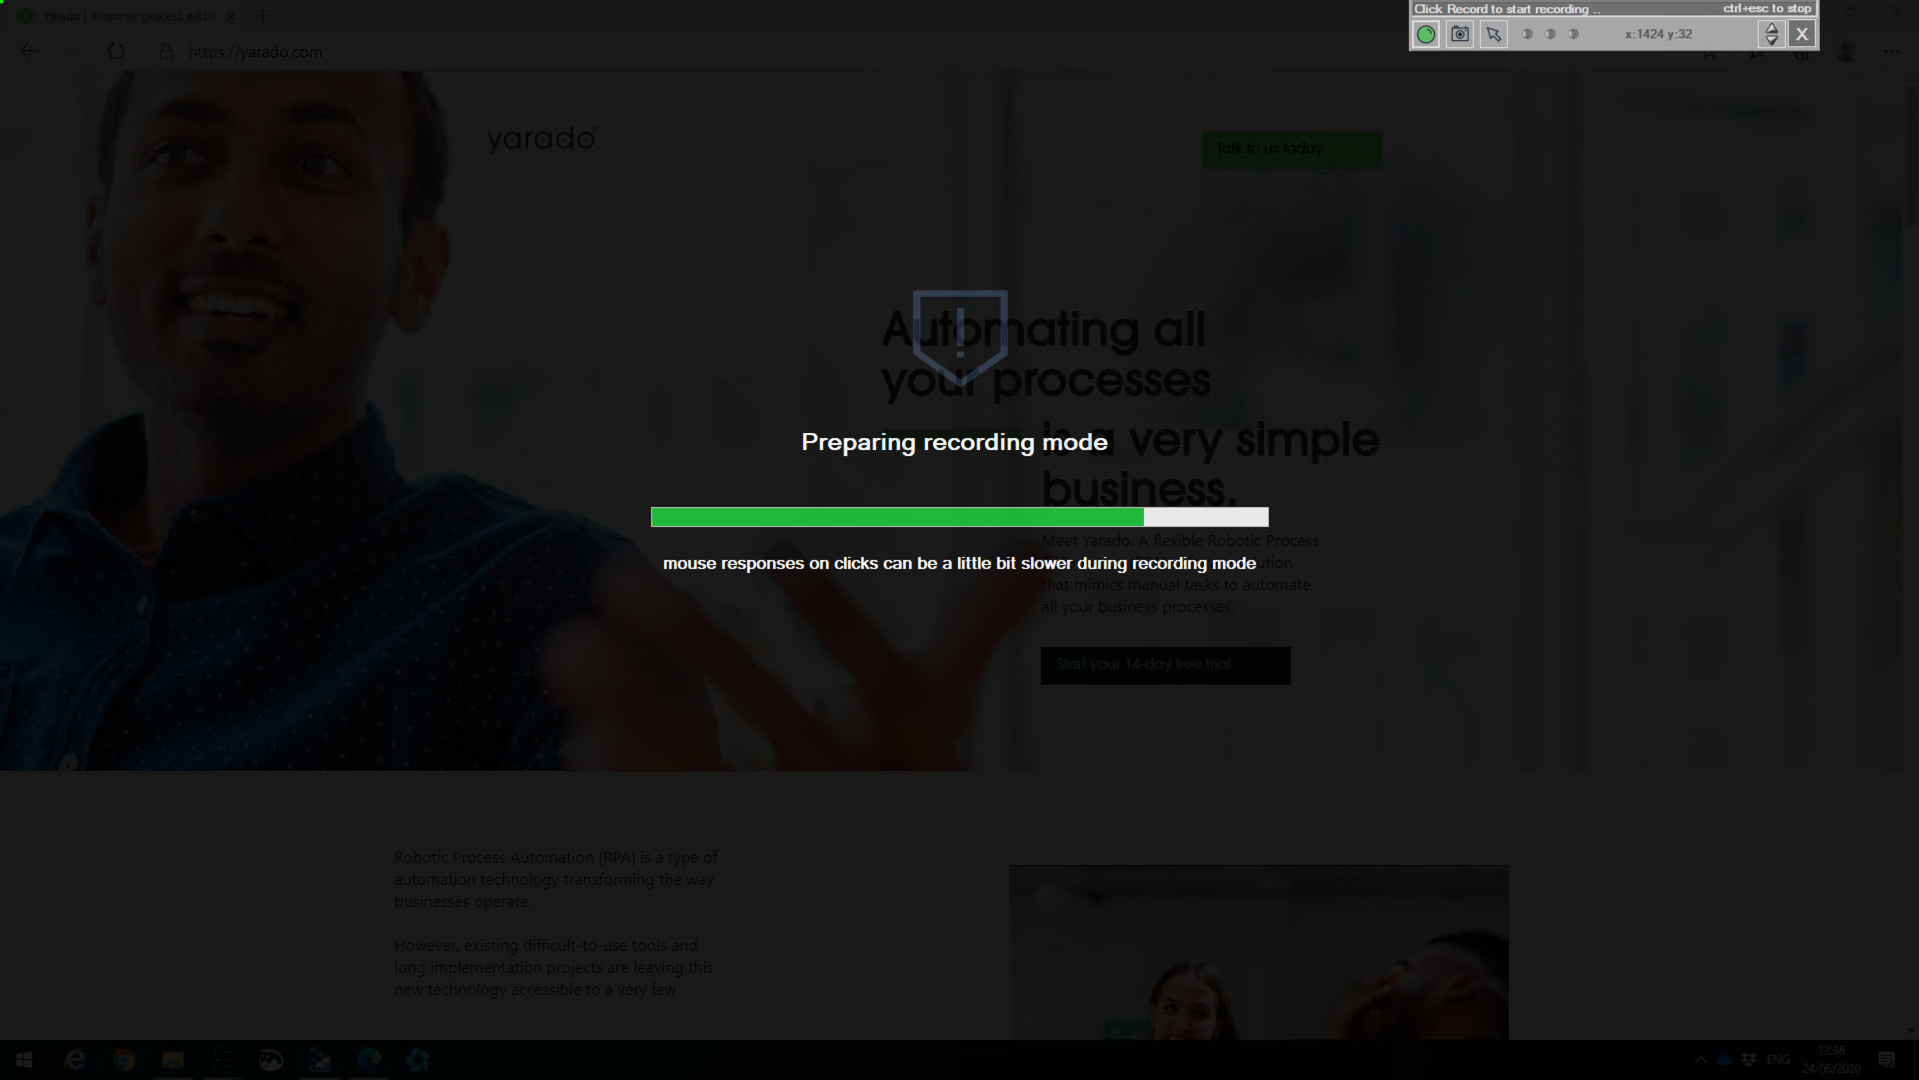
Yarado preparing intelligent recording mode.
Once loaded, you will notice that Yarado places a layer over the screen that automatically scans the content underneath the cursor. While doing so, it puts a colored outline around the selected element.
Info
There are four different outline options:
| Colour | Meaning |
|---|---|
 Red Red |
Yarado is unable to properly record this element. |
 Yellow Yellow |
Yarado is processing this element, please wait a second. |
 Green Green |
Yarado is ready to record this element. |
 Blue Blue |
Yarado is currently recoding an element, please wait a second. |
Once an element has a green outline, use a mouse click to record it.
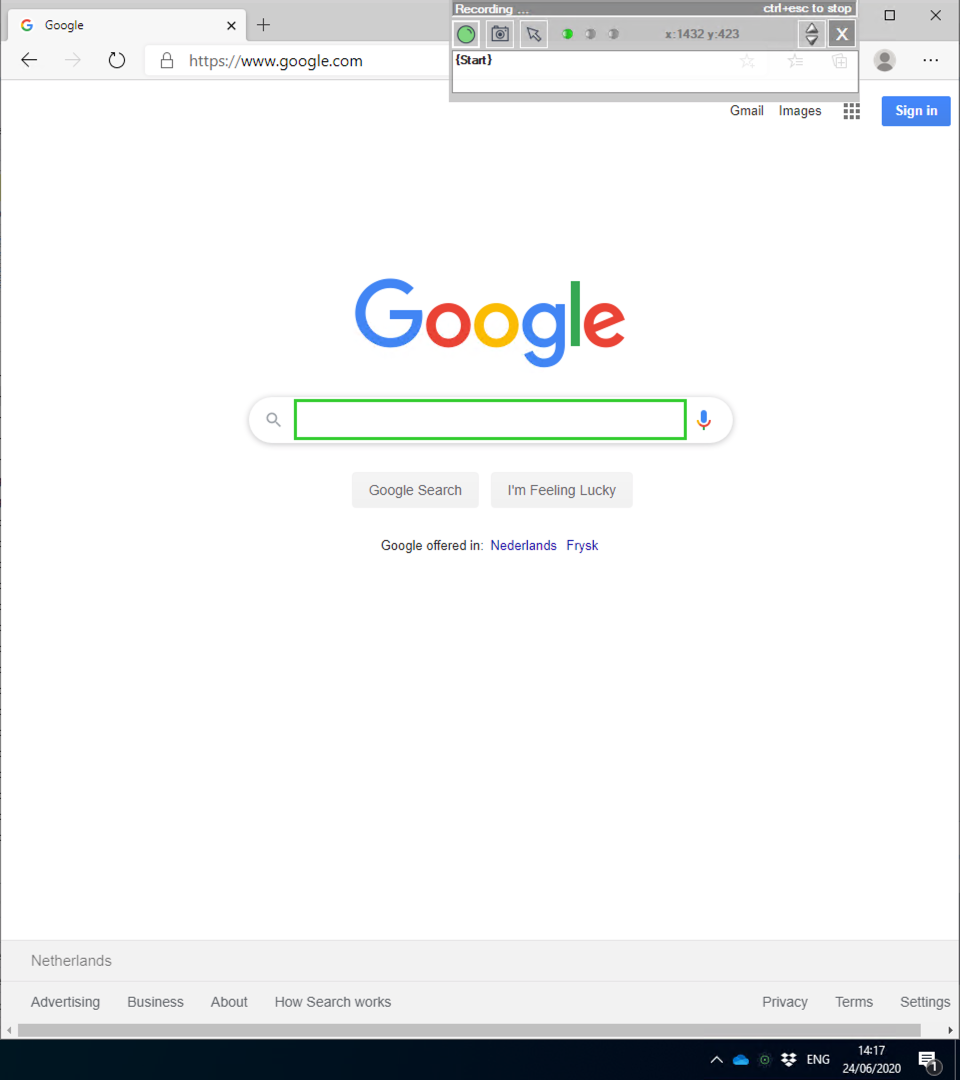
Yarado ready to record a step.
Wait for the blue outline to disappear before recording a new element.
Tip
You can temporarily pause the recording mode by clicking on the green circle
( ) in the recording controls window.
Click on the  in the recording controls window to close
the recording mode.
in the recording controls window to close
the recording mode.
Yarado recorder controls.
The step(s) you have recorded will appear in the process visualiser.
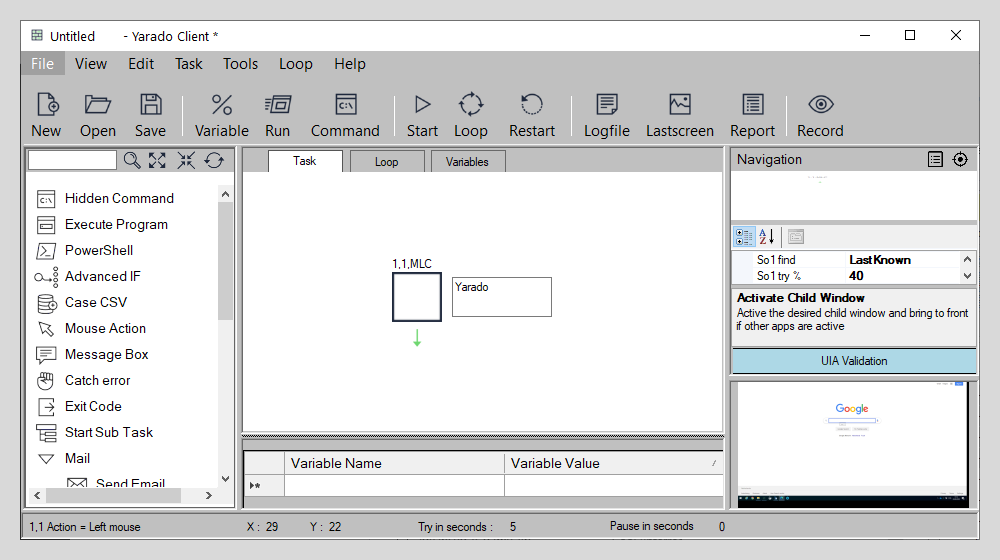
Recorded step in process visualiser.
Image recognition
Warning
Computer vision is more prone to errors, as there are limited fallback options compared to other recording methods. Besides, it requires more processing power during playback. Extensive use of computer vision may impact reliability and performance. Appropriate use is advised.
In some circumstances, you need Yarado to detect a specific image on the screen. For example, in applications that have a very flat structure (blocking element discovery) while the content is likely to move around on the screen (obstructing mouse position recording). In this case, you can use Yarado's image recognition recording mode and rely on computer vision to detect your recorded image during playback.
To enable image recognition mode, click on the camera icon () in the
recording controls window.
Yarado recorder controls.
Yarado will provide you with a screenshot tool, so you can easily capture the image you want to detect in your step. In the example below, the combination of the red square and STO code are captured.
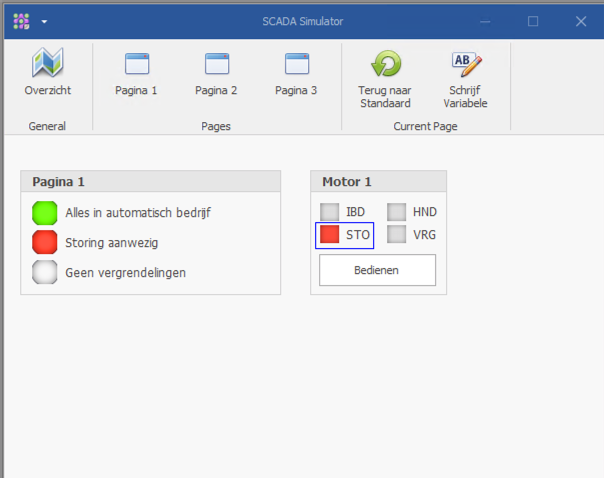
Record an image for computer vision.
In case you need to record another image, enable image recognition again by
clicking on the camera icon (). Click on the in
the recording controls window to close the recording mode.
Yarado recorder controls.
Custom mouse recording
Warning
Custom mouse recording (CMR) is very fast during playback, but more prone to errors, as there are limited fallback options compared to other recording methods. In case elements on the screen move and their respective mouse coordinates change, CMR steps will not be able to recognise this. Appropriate use is advised.
In some circumstances, you need Yarado to visit specific mouse coordinates on the screen. For example, in applications that have a very flat structure (blocking element discovery) or applications that have too many layers (impacting playback performance). In this case, you can use Yarado's custom mouse recording mode and rely on fixed mouse coordinates.
To enable custom mouse recording mode, click on the cursos icon
() in the recording controls window. The icon will light up
green, indicating that custom mouse recording is activated. After activating
CMR, click on the red circle () to start recording.
For convenience, the element you select is outlined in green.
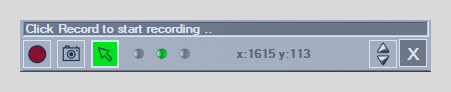
Yarado recorder controls with CMR enabled.
Click on the in the recording controls window to close
the recording mode.
Yarado recorder controls.
The step(s) you have recorded will appear in the process visualiser as CMR steps, indicating they are a custom mouse recording.
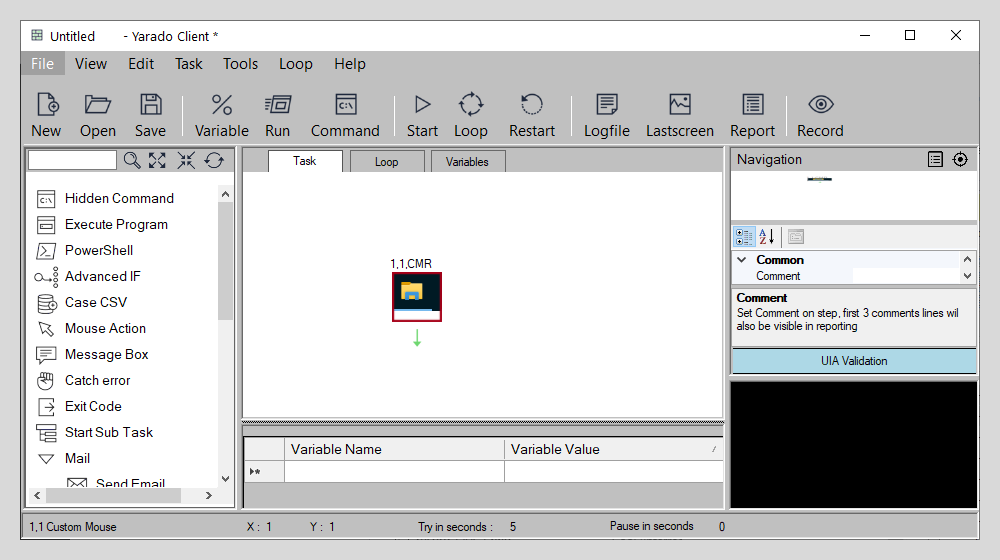
Recorded CMR step in process visualiser.