Mouse Action
Purpose
One of the key benefits of RPA is the ability to automate the mouse actions of a user. While Yarado's intelligent recording mode is perfect for recording the majority of the mouse actions, some situations require additional options and flexibility. For these situations, Yarado offers the custom mouse action step. Besides, the Mouse Action is the only mouse option that allows for using variables as input for the mouse coordinates.

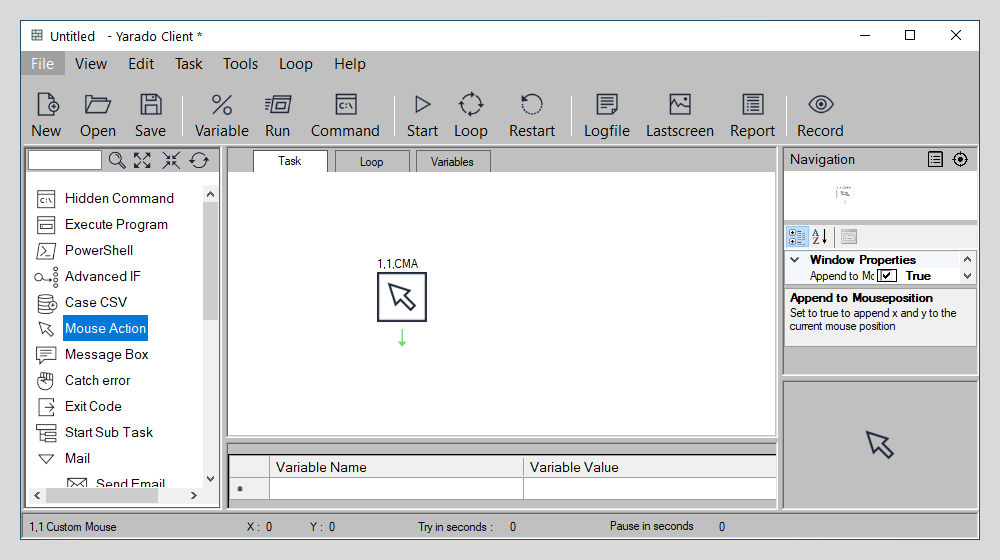
Double click the icon or drag it to the process visuliser to use the Mouse Action function.
Using Message Box
The Message Box step is a step that must be created manually because it is not possible to provide the decision criteria when you are in recording mode.
To create a message box, a title, message and at least one button are required. The title bar, button(s), message body and autoclose allow for the use of variables.
Next to the
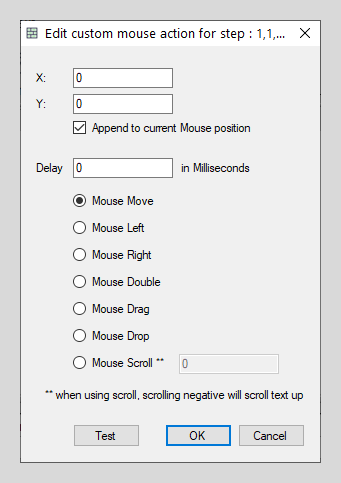
Interface elements
| Element | Description |
|---|---|
| X | X-axis mouse coordinate. |
| Y | Y-axis mouse coordinate. |
| Append to current mouse position | Append the entered X and Y coordinates entered to the current mouse position. |
| Delay | Delay in milliseconds before the step is executed. |
| Mouse Action | Select the mouse action that will be performed: Left, Right, Double, Drag, Drop or Scroll. |

Set the Mouse Action properties
Note
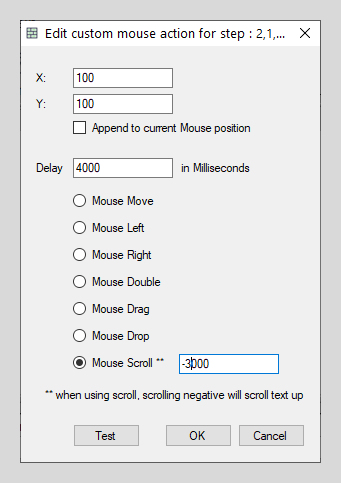
Scroll uses the natural scroll direction, similar to those on smartphones. Meaning, if you are on a webpage and you want to scroll down, you need to enter a negative pixel value, e.g. -300 px.
Example
Scrolling down on a webpage
-
Add an Execute Program step with the following settings:

Execute Command step used in this example.
- Click on OK to save the step.
-
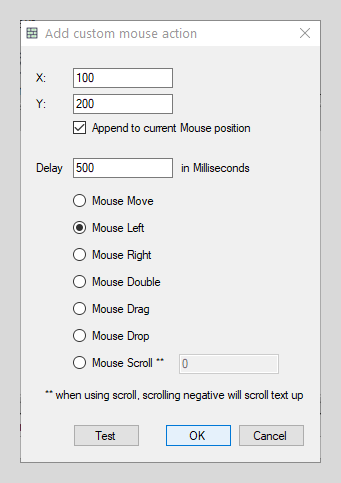
Add a Mouse Action step with the following settings:

Execute Command step used in this example.
- This step ensure focus on the webpage.
- Click on OK to save the step.
-
Add a Mouse Action step with the following settings:

Execute Command step used in this example.
- This step performs the scrolling action.
- Click on OK to save the step.